在Linux环境下搭建邮箱服务器是企业级通信系统的重要实践,不仅能提升数据安全性,还能根据需求定制功能,本文将从环境准备、核心组件安装、配置优化到安全加固,详细解析完整搭建流程,帮助读者构建稳定高效的邮件服务。

环境准备与基础系统配置
搭建邮箱服务器的首要任务是选择合适的Linux发行版,推荐使用Ubuntu Server 22.04或CentOS 7/8,两者拥有完善的软件包支持和活跃的社区资源,确保服务器硬件配置满足最低要求:至少2核CPU、4GB内存、50GB存储空间,并配置静态IP地址(如192.168.1.100),避免因IP变动导致邮件发送异常。
基础系统优化是稳定运行的前提,更新系统软件包列表并升级现有软件:
# Ubuntu/Debian系统
sudo apt update && sudo apt upgrade -y
# CentOS/RHEL系统
sudo yum update -y
安装必要工具包,如net-tools(ifconfig命令)、vim(文本编辑)、wget(下载文件)等:
sudo apt install -y net-tools vim wget
配置主机名与解析,确保邮件域名与服务器IP绑定,编辑/etc/hosts文件,添加:
0.0.1   localhost
192.168.1.100 mail.example.com mail
随后设置主机名:
sudo hostnamectl set-hostname mail.example.com
安装核心邮件服务组件
Linux邮件服务器通常由多个协作组件构成,包括MTA(邮件传输代理)、MDA(邮件分发代理)、IMAP/POP3服务及数据库,本文以Postfix(MTA)、Dovecot(MDA/IMAP)为例,搭配MySQL/MariaDB存储用户信息,实现功能完整的邮件系统。
安装Postfix作为MTA
Postfix负责邮件的接收与转发,是邮件系统的核心传输层,安装过程如下:
sudo apt install -y postfix
安装过程中会出现配置界面,选择“Internet Site”,配置“System mail name”为邮件域名(如example.com),完成后编辑主配置文件/etc/postfix/main.cf,调整关键参数:
myhostname = mail.example.com
mydomain = example.com
myorigin = $mydomain
inet_interfaces = all
mydestination = $myhostname, localhost.$mydomain, localhost, $mydomain
mynetworks = 127.0.0.0/8, [::ffff:127.0.0.0]/104, [::1]/128
home_mailbox = Maildir/ 参数说明:myhostname定义服务器主机名,mydestination指定接收邮件的域名,home_mailbox使用Maildir格式存储邮件(便于多设备同步),重启Postfix服务使配置生效:
sudo systemctl restart postfix
sudo systemctl enable postfix
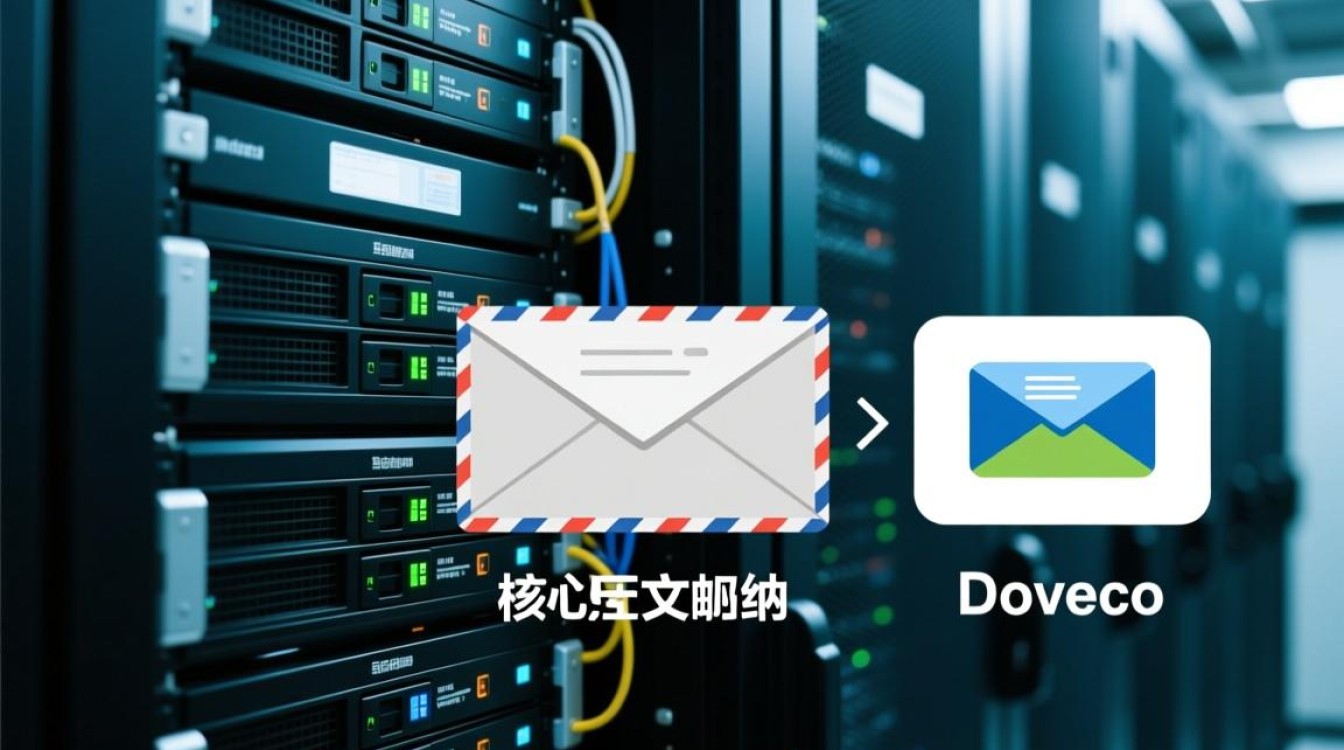
安装Dovecot提供IMAP/POP3服务
Dovecot负责邮件的存储与访问协议支持,确保用户可通过邮件客户端收发邮件,安装命令:
sudo apt install -y dovecot-imapd dovecot-pop3d
Dovecot配置文件位于/etc/dovecot/dovecot.conf,启用IMAP和POP3协议:
protocols = imap pop3 lmtp 编辑邮箱存储配置/etc/dovecot/conf.d/10-mail.conf,指定邮件存储目录格式(需与Postfix配置一致):

mail_location = maildir:~/Maildir 配置认证机制,编辑/etc/dovecot/conf.d/10-auth.conf,启用 plain 登录并允许明文密码(生产环境建议启用SSL加密):
disable_plaintext_auth = no
auth_mechanisms = plain login
启动Dovecot服务并设置开机自启:
sudo systemctl restart dovecot
sudo systemctl enable dovecot
安装数据库管理用户信息
为提升安全性,使用数据库存储邮箱用户信息而非系统账户,安装MariaDB(MySQL分支):
sudo apt install -y mariadb-server
安全初始化数据库,执行sudo mysql_secure_installation,设置root密码并移除匿名用户,创建邮件专用数据库及用户:
mysql -u root -p
CREATE DATABASE mailserver;
GRANT ALL PRIVILEGES ON mailserver.* TO 'mailuser'@'localhost' IDENTIFIED BY 'StrongPassword123!';
FLUSH PRIVILEGES;
EXIT;
创建邮箱用户表,定义用户名、密码及存储路径:
USE mailserver;
CREATE TABLE users (
    id INT AUTO_INCREMENT PRIMARY KEY,
    email VARCHAR(255) UNIQUE NOT NULL,
    password VARCHAR(255) NOT NULL,
    mail_dir VARCHAR(255) NOT NULL
);
配置虚拟域与邮箱用户
Postfix默认仅处理本地系统用户,需配置虚拟域以支持多邮箱管理,编辑/etc/postfix/main.cf,添加虚拟域与用户映射:
virtual_mailbox_domains = example.com
virtual_mailbox_base = /var/vmail
virtual_mailbox_maps = mysql:/etc/postfix/mysql-virtual-mailbox-maps.cf
virtual_minimum_uid = 1000
virtual_uid_maps = static:5000
virtual_gid_maps = static:5000 创建Postfix与数据库的映射文件/etc/postfix/mysql-virtual-mailbox-maps.cf:
user = mailuser
password = StrongPassword123!
hosts = localhost
dbname = mailserver
query = SELECT mail_dir FROM users WHERE email = '%s' 创建虚拟别名映射文件/etc/postfix/mysql-virtual-alias-maps.cf,支持邮件转发:
user = mailuser
password = StrongPassword123!
hosts = localhost
dbname = mailserver
query = SELECT email FROM users WHERE email = '%s'
创建邮箱存储目录并设置权限:
sudo mkdir -p /var/vmail
sudo chown -R 5000:5000 /var/vmail
重新加载Postfix配置:
sudo postfix reload
通过数据库添加邮箱用户,例如创建用户user@example.com:
INSERT INTO users (email, password, mail_dir) VALUES
('user@example.com', ENCRYPT('UserPassword123!', CONCAT('$6$', SUBSTRING(SHA(RAND()), -16))), '/var/vmail/example.com/user/');
其中ENCRYPT函数使用SHA-512加密密码(需确保Dovecot支持)。

配置SSL/TLS加密与安全加固
邮件传输过程中需启用SSL/TLS加密,防止数据泄露,使用Let’s Encrypt免费证书:
sudo apt install -y certbot
sudo certbot certonly --standalone -d mail.example.com
将证书路径配置到Postfix和Dovecot,编辑/etc/postfix/main.cf:
smtpd_tls_cert_file = /etc/letsencrypt/live/mail.example.com/fullchain.pem
smtpd_tls_key_file = /etc/letsencrypt/live/mail.example.com/privkey.pem
smtpd_use_tls = yes
smtpd_tls_session_cache_database = btree:${data_directory}/smtpd_scache 编辑Dovecot配置/etc/dovecot/conf.d/10-ssl.conf:
ssl = required
ssl_cert = </etc/letsencrypt/live/mail.example.com/fullchain.pem
ssl_key = </etc/letsencrypt/live/mail.example.com/privkey.pem
重启服务使SSL配置生效:
sudo systemctl restart postfix dovecot
需配置防火墙允许邮件相关端口:
sudo ufw allow 25/tcp    # SMTP
sudo ufw allow 465/tcp   # SMTPS
sudo ufw allow 587/tcp   # Submission
sudo ufw allow 143/tcp   # IMAP
sudo ufw allow 993/tcp   # IMAPS
sudo ufw allow 110/tcp   # POP3
sudo ufw allow 995/tcp   # POP3S
测试与维护
使用telnet或swaks工具测试邮件发送功能,例如发送测试邮件至外部邮箱:
swaks --to recipient@example.com --from user@example.com --server mail.example.com --auth-user user@example.com --auth-password UserPassword123!
检查邮件日志排查问题:
# Postfix日志
tail -f /var/log/mail.log
# Dovecot日志
tail -f /var/log/dovecot.log
定期备份数据库和邮件目录,确保数据安全,可通过cron设置每日备份任务:
sudo crontab -e
0 2 * * * tar -czf /backup/mail-$(date +\%Y\%m\%d).tar.gz /var/vmail /var/lib/mysql 通过以上步骤,即可在Linux服务器上搭建功能完善、安全可靠的邮箱服务器,实际部署中,还需根据业务需求调整参数,如配置反垃圾邮件(SpamAssassin)、邮件列表(Mailman)等扩展功能,进一步提升邮件系统的实用性与安全性。